
Greetings! To some who may find themselves reading this rather different blog/website/bread for pickup page, welcome! I’ll occasionally post things regarding my baking, which I have a history of doing on my previous website (no longer in existence).
So, let’s talk about bagels. To preface, I’m definitely no New York Bagelry nor do I claim to be the best. However, I think my sourdough bagels are pretty darn tooting good. Making them really isn’t a difficult process, but fine tuning the small details of how to mix them, when to shape them, and when to boil them is an art form. Maybe more of an actual study than an art form, nevertheless, it’s a skill that has taken many a bagel to get the hang of.

The above photo was some of my earlier bagels and you know what? They weren’t half bad for someone who isn’t an east coast bagel purist. Sure, they came out a bit tough and chewier than I wanted. But those could all be improved!
The biggest reason for trying to tackle bagels was to do something new in my baking and add another item into the arsenal that is my menu. What better way to add something in than a bagel that has an almost limitless possibility of mix ins? Going based off of some popular blog websites, I fashioned my recipe based off theirs. Minor tweaks and additions, particularly to time were changed from those websites. So please, don’t try to get after me about plagiarism…
However, the more I did these bagels in my Simply Bread Oven, the more I felt like the crust in particular wasn’t the best. I couldn’t figure out why they were turning out super overdone on the outside. Around that time, I had remembered that a while back someone had referenced a “bagel board” on social media. I had no idea what that was, so I promptly forgot about it. But alas, your triumphant baking hero (me) remembered it and looked it up!
Most of what I found online was a couple of bagel boards for sale. But there was one website that talks about making bagel boards! For fear of saying I stole any ideas from them, I will say I used those websites as inspiration. I had to measure the boards accordingly to my oven so thus, they are different.
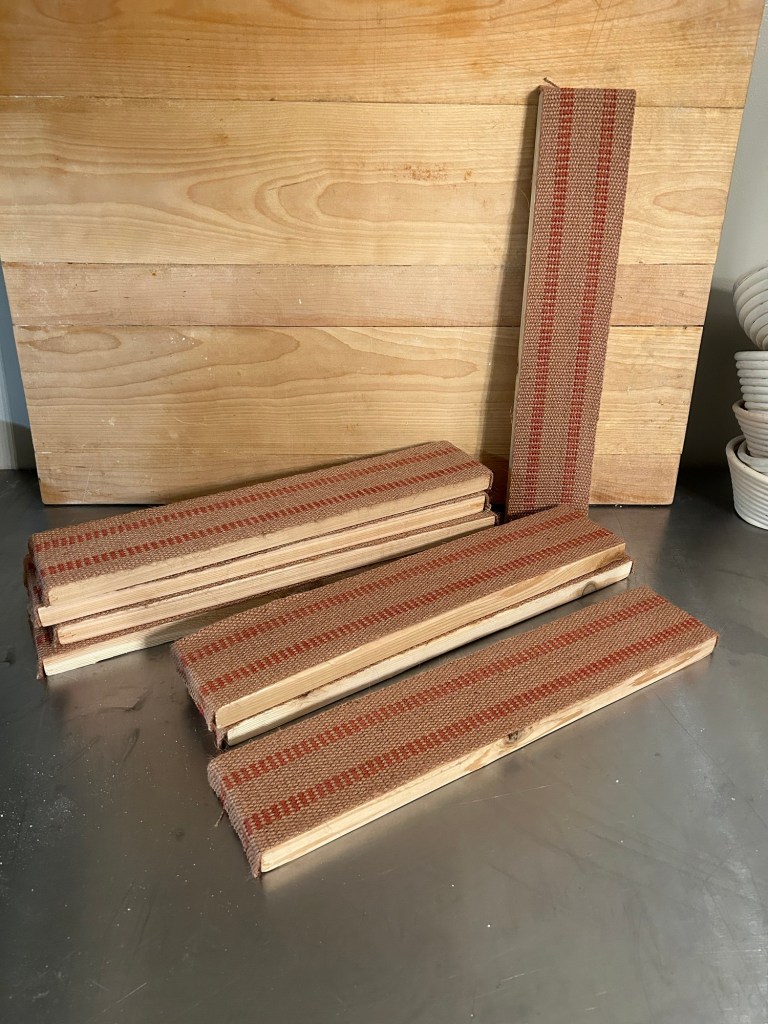
There was also the matter of the burlap that covers the bagel boards. Basically, bagel boards are just a wood board of cedar cut to whatever length needed and then covered in burlap. Simple enough, yet you can’t just throw any burlap on it. It needs to be the correct width and you need to “treat” it before baking with it.
Getting the burlap ready for baking was fairly easy. I had seen several reviews in which people soaked it to get any impurities out. However, just for good measure, I boiled it in water just to make sure. After drying, the burlap is easy to measure and cut. Then staple em onto the boards!
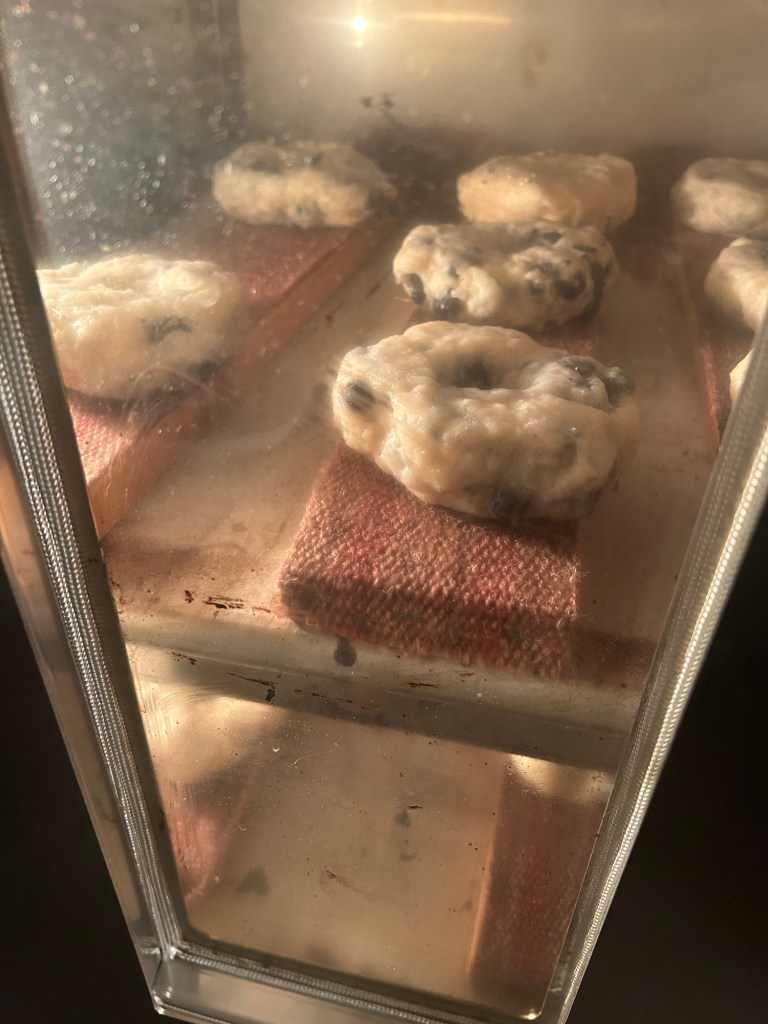
One thing to note: bagel boards must be soaked before going into oven. This will ensure that the board doesn’t burn, and I also find that it stops the bagel from sticking to the burlap. Typically, I’ll soak it as I’m getting the bagels shaped and then when they are boiling, I’ll take em out for the bagels.
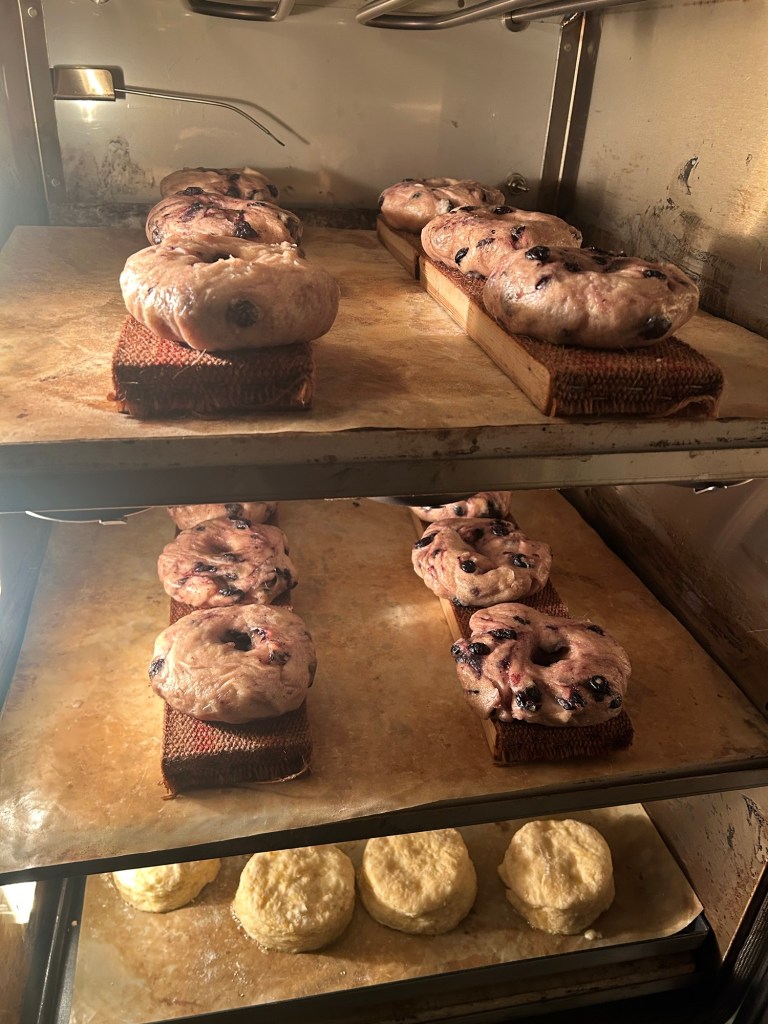
After soaking, place bagels top side down on boards. I usually bake them for 5 minutes and then take out the boards by flipping the bagels over onto the stone. That way, the top side is up and the bottoms will get that traditional baked look. I’ve found that the 5 minutes on the board help sets the crust and lets the bagels get a good rise once flipped onto the stone!
While this works great for my big bread oven, I don’t see why these wouldn’t work on a pizza stone or even a baking sheet. Give em a shot as they are relatively cheap to make or if you’re in the St. Paul, MN area, I’ve got plenty extra!
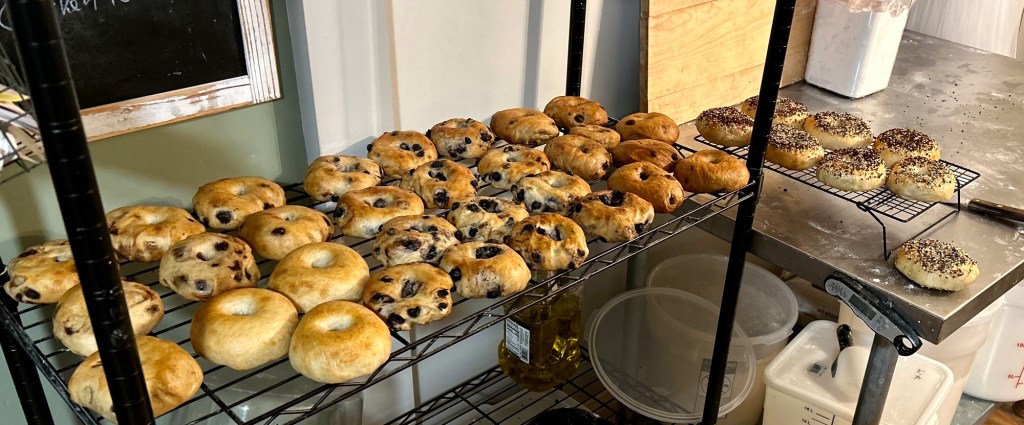
Again, I’m not an expert bagel maker, but I’ve had a blast making bagels and these boards have led to great reviews from my friends, coworkers, and customers!
